
First Published - August 18, 2011
The WordPress Gallery
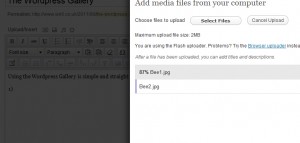 Using the WordPress Gallery is simple and straight forward to do.
Inserting a new gallery
- Upload you images in the regular way
- Close the upload box
- Click the upload image icon again in the editor and you will notice a new option has appeared “Gallery”
- Click the Gallery tab
- You will see a list of images that have been uploaded to the post, at the foot of the list you will then notice a Gallery Settings feature
- Choose the options you wish to use within the gallery, number of columns, links etc
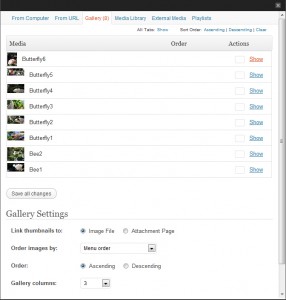 Click inert gallery
- You will then see within your page or post a blank sqaure – this is the gallery place holder.
- Click publish or update and your page or post will now have a Gallery of images automatically inserted.
Adding Images to the existing Gallery.
- Open the post of page you wish to add images to
- Upload the new image
- Update
- Hey presto the new image has automatically been added to the gallery
And its as simple as that – to exclude images from the gallery, simply delete them in the Gallery list, that can be found in the image upload area.